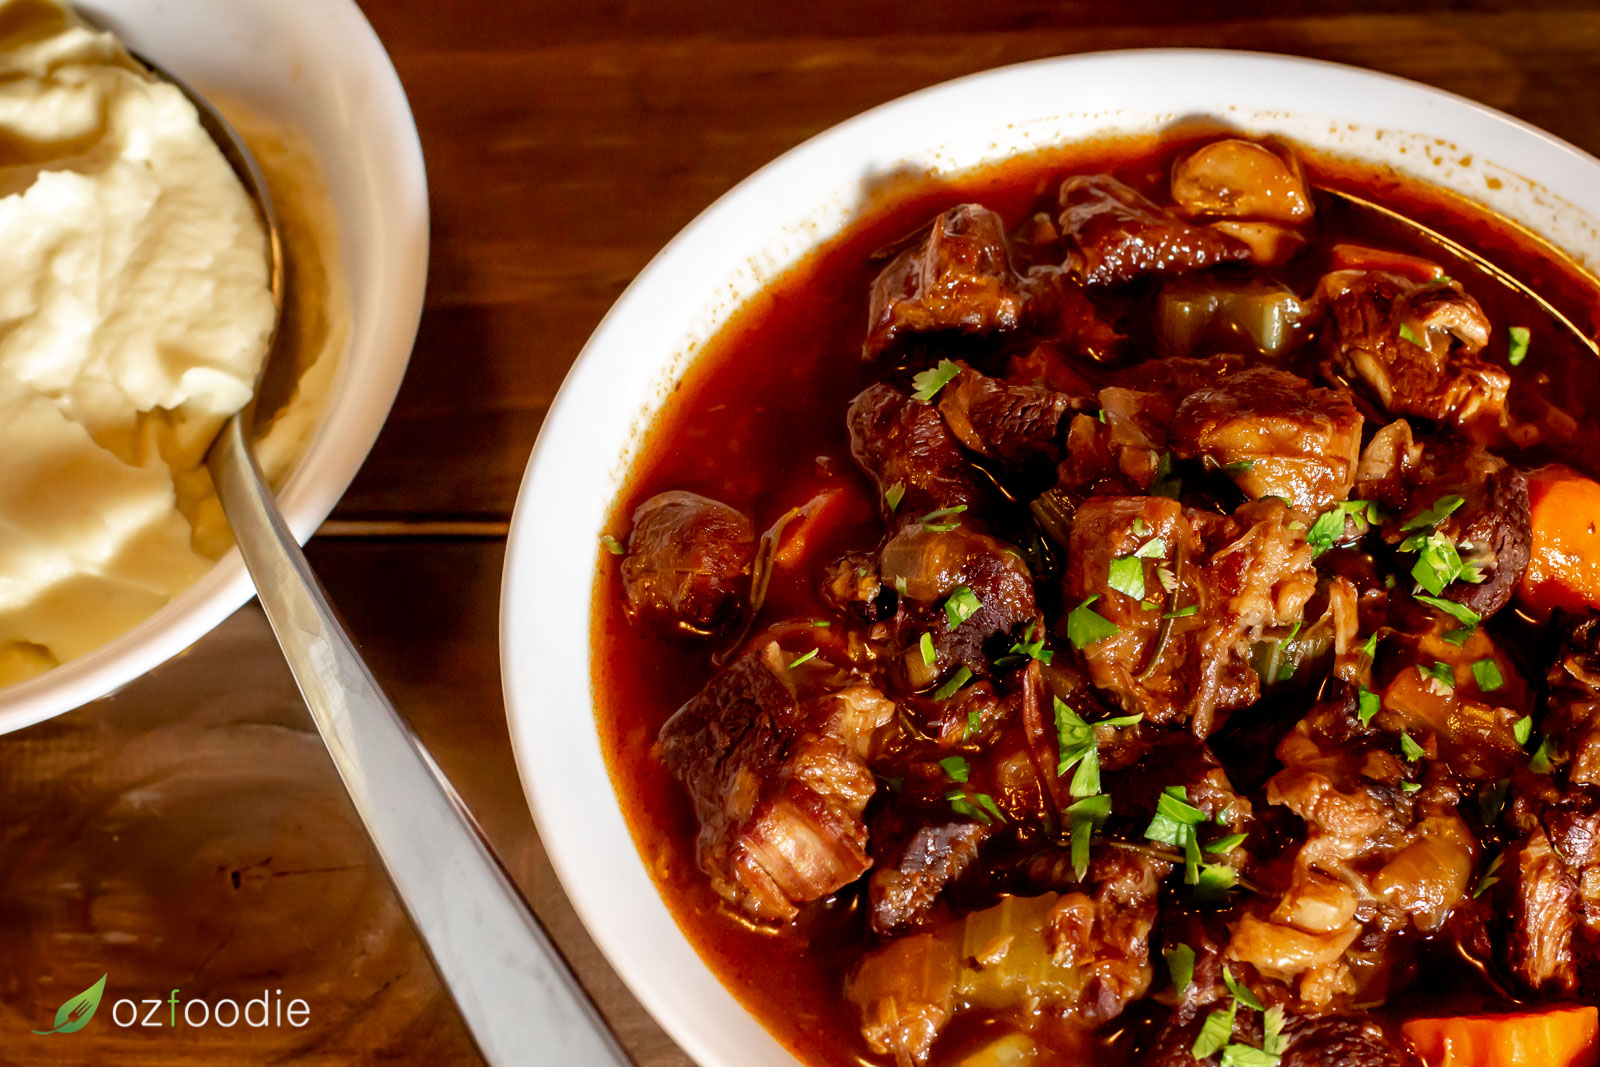
Rustic Beef Stew.
As those who follow me on Instagram or Facebook know, hubby and I live mainly on chicken. This is because hubby will only eat chicken, beef and fish, and chicken is cheaper than beef or fish. He also only eats chicken breast. (I cannot lie; despite the variety of ways I find to serve up chicken breast, I do get bored with it.)
Last week I forgot to order chicken through my local organic collective. The chicken I buy is not organic (though that is available too, for a price that is way out of my reach!) but it is higher welfare free range than the offerings in most butchers or supermarkets, and cheaper too. However, my local butcher’s organic, grass-fed beef is cheaper than the collective’s. So, when I forget to place my order, what do you think I’d do?
Beef stew to the rescue!
Beef stew. Nothing complicated, just simple, wholesome, budget-friendly winter comfort food. Though somehow I chose the hottest May day on record here in Perth to make my first stew of the “winter”. (Hah! That’d be right!)
I used my electric pressure cooker, and the instructions should be roughly equivalent for any brand. This is a very easy dish to make, but allow plenty of time to prepare it. The browning takes a while as it is done in batches (but it is worth it for the added flavour), then there’s the interim step of adding the carrots and celery after the initial 25 minutes under pressure (important in order to avoid mushy veg) and then at the end of the cooking time it takes a while to come down from pressure naturally. The good news is that you can use this time to prepare any sides. The less good news is that if, like me, you want to take photos, the natural light has long since faded and you don’t have studio lighting.
Then again, the other good news is this beef stew tastes wayyyyy better than it looks.
It is rich and flavoursome and has the Fussy Hubby Seal of Approval.
This simple beef stew is easy and full of flavour, the perfect comfort food for a cool autumn evening.
30 minPrep Time
50 minCook Time
1 hr, 20 Total Time

Ingredients
- 1 tbsp extra virgin olive oil
- 1 kg chuck steak, cut into 2-3 cm cubes
- 1 large onion, diced
- 1 large handful swiss brown mushrooms, or button mushrooms, sliced
- 1 carrot, diced or sliced to 1-2 cm thickness
- 1 stalk celery, sliced 1 cm thick
- 5 small cloves garlic, sliced thinly
- 2 tbsp tomato paste
- 2 tbsp gluten-free worcestershire sauce
- ⅓ cup red wine, (use beef stock if you prefer, and skip Step 6)
- ⅓ cup beef stock, 2 tbsp reserved (use homemade or low sodium)
- 2 sprigs rosemary, halved but left intact
- 1 tbsp arrowroot flour, mixed into a smooth slurry with the 1 tbsp reserved beef stock
- ½ tsp salt (I use pink Himilayan sea salt)
- ¼ tsp ground black pepper
Instructions
- Turn the pressure cooker onto the sauté function and heat 1 teaspoon of the olive oil until it shimmers. Add the carrot and celery and sauté for about a minute, until both are brightly coloured. Remove and set aside.
- Put the pressure cooker onto its Browning function. Brown the beef in batches (at least 3), being careful not to crowd the pan or it will stew. Use a little extra oil if necessary. Remove each batch to a bowl, including the final batch.
- Reduce the heat setting from Browning to Sauté. Add the remaining oil and heat, then add the onion to the pan and sauté for about 3 minutes. Add the mushroom slices and sauté until the mushroom starts to brown and release its juices and the onion softens and starts to turn translucent, about 4 more minutes.
- Add the garlic and sauté until fragrant, up to 1 minute.
- Add the tomato paste and Worcestershire sauce and stir well for 1 minute.
- Add the wine and cook a further 2 minutes.
- Add the stock (make sure you set aside 2 tablespoons for the slurry), rosemary and meat. Set the pressure cooker to HIGH pressure for 25 minutes, then release the pressure using quick release.
- Open the lid and add the carrot and celery. Reset the pressure cooker to HIGH pressure for 1 minute (or 0 minutes if your pressure cooker supports it).
- When it finishes cooking, turn off the Keep Warm function if there is one and it has kicked in, and allow the pressure to release using slow/natural release. (Turning off Keep Warm will bring the pressure down faster.) Allow 20-30 minutes for the pressure release. This is an important step that allows the fibres of the meat to relax and become tender to eat. If you are very short of time and really must speed things up, give it a minimum of 10 minutes before using quick release.
- When you are able to remove the lid, remove the rosemary sprigs (which should now be bare). Stir in the slurry, allow to thicken for a minute or two in its own heat. Add salt and pepper, taste, and adjust as required. Serve immediately.
Notes
IN THE OVEN
Do the browning and sautéing on the stovetop (ideally in an oven-proof pan otherwise transfer to a an oven-proof dish) and cook 2½ to 3 hours on 140ºC fan-forced or 160ºC conventional, until fork tender.
ON THE STOVETOP
Do the browning and sautéing in a large saucepan, and simply simmer in the same pan, lid on, stirring occasionally (making sure it doesn't catch the bottom of the pan) until fork tender.
 Save Recipe